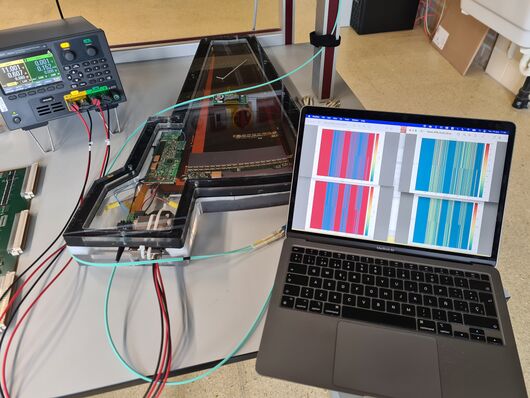
FELIX instructions for Petals
How to configure a petal (main instructions taken from DESY repo https://gitlab.cern.ch/desy-atlas/itk/petal-testing):
cd into the petal-testing directory and then execute the following commands:
- Setup the FELIX dependencies:
source dependencies/setupFELIX.sh
- Initialize the FLX card:
flx-init
It's normal if it says that all the channels are not aligned even if at least one actually is, we don't know why, but SR1 with staves sees the same.
- Invert the polarity (for lpGBTv1):
flx-config set GBT_RXPOLARITY=0xFFFFFFFF
- Verify the status of the PODs:
flx-info POD
- Check that all connected links are aligned:
flx-info GBT
If testing the PPB R5 Vancouver Petal:
- Configure the elinks on your FELIX card:
source configs/elinks/elinks_petal_R5_640Mbs.sh
- Check your config:
elinkconfig
Click on Read Cfg, then you can Quit.
- Push the lpGBT config to the petal chipset :
fice -G0 -I71 configs/lpgbt/lpgbt_PT_M_LH_V1_Pri_hex.cnf
If this command takes a long time, it's because of the LV PSU, probably due to have been providing power for a long time.
- Verify this has worked (you should see the line "Compared 336 values, found 0 differences"):
fice -G0 -I71 -C configs/lpgbt/lpgbt_PT_M_LH_V1_Pri_hex.cnf
- Start FELIXCore and don't close this terminal:
startFelixcore
In a second remote terminal session cd into the petal-testing directory and then execute the following commands:
- Configure the YARR dependencies:
source dependencies/setupYARR.sh
- Activate the AMAC:
write_amac_ppb 9 1 0 0
This will increase the current in the LV PSU, typically from 165 mA to 405 mA, at least these are the numbers at Nikhef with the R5 Vancouver petal. It's important to check this changes in the consumption, since it confirms there's communication with the chips.
- Confirm there's communication with the HCCs via a register dump scan:
python3 scantools/run_YARR.py -c scanSetup_regDump.json --infile-dir scantools/configs_PPB_Vancouver_R5execute it twice!!
After the 2nd time, there shouldn't be lines like "There were no results for chip Stave_PPB_hcc1".
Also: after the first regsiter dump scan, the current in the LV PSU will increase from 405 mA to 514 mA, and after the second one it will increase from 514 mA to 605 mA.
